|
How to get your Amaryllis to bloom again
Kay Hinkle
Adams County Master Gardener
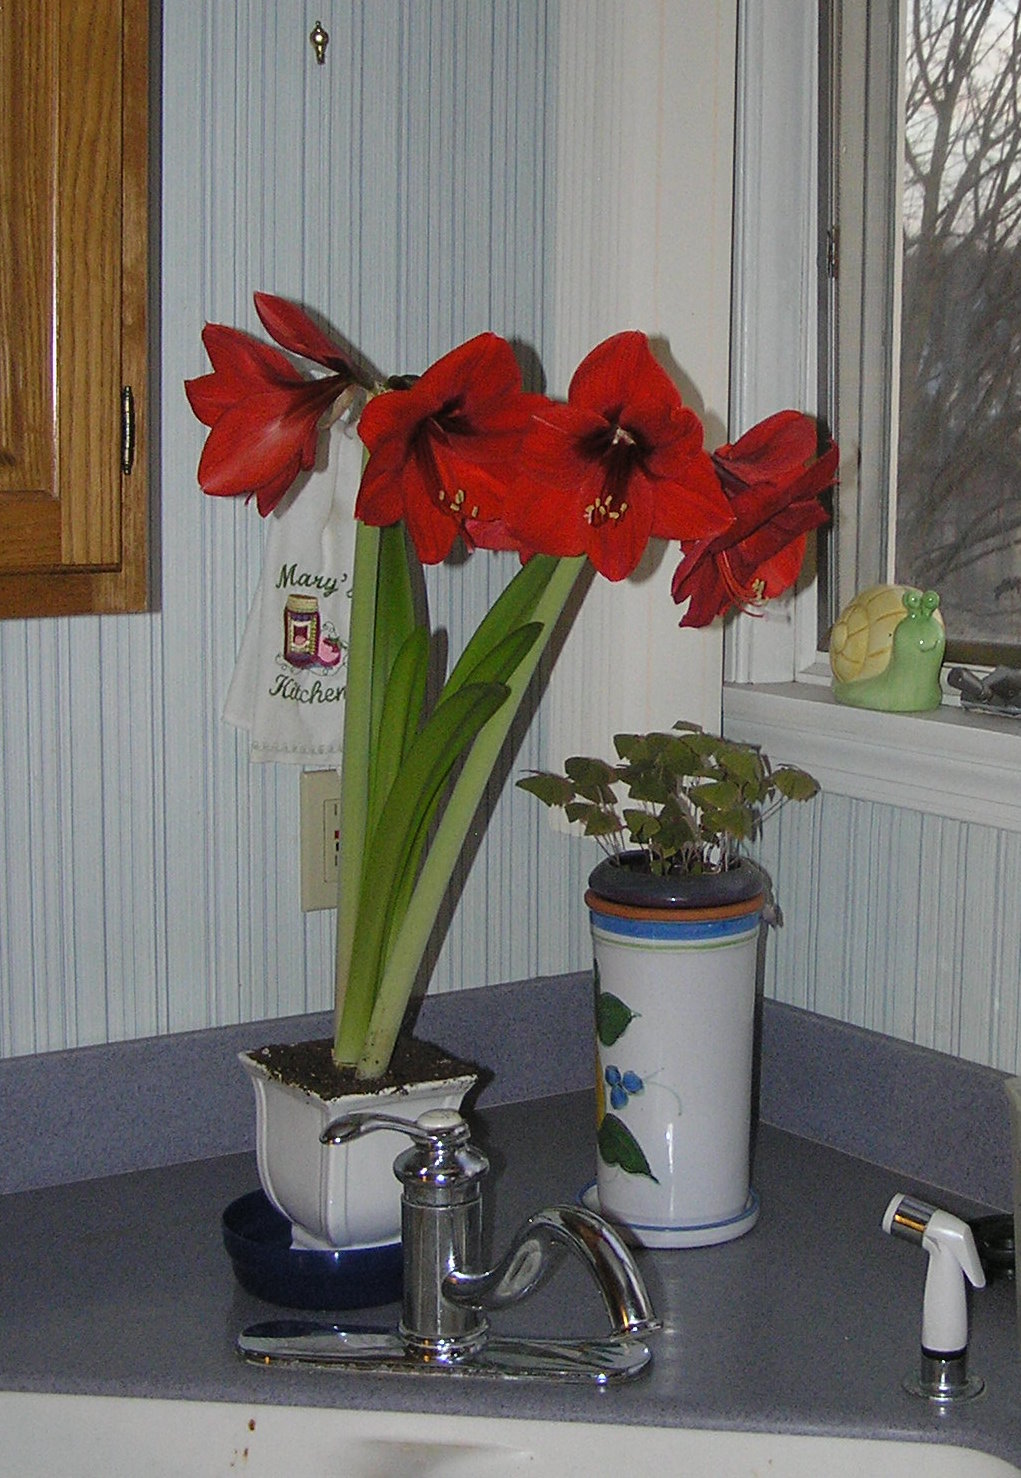
 Do you have a spent Amaryllis bulb? I have one I purchased after Christmas at one third the cost of a bulb before the holidays. It put out a beautiful triple bloom in snow white a few weeks ago. Then it put up a second stem that
is blooming just now, this time a double white. Since that purchase, a friend gave me a bulb that was just too affordable to pass up, purchased at a local box store. I expect it will bloom a fiery red at Easter. Do you have a spent Amaryllis bulb? I have one I purchased after Christmas at one third the cost of a bulb before the holidays. It put out a beautiful triple bloom in snow white a few weeks ago. Then it put up a second stem that
is blooming just now, this time a double white. Since that purchase, a friend gave me a bulb that was just too affordable to pass up, purchased at a local box store. I expect it will bloom a fiery red at Easter.
Amaryllis have become increasingly popular holiday gift plants, undoubtedly because the bulbs bloom very freely indoors and they are affordable. The large, showy flowers make a bold statement and are available in an increasing variety of colors, shapes, and sizes that fit almost any taste. Amaryllis
are not difficult to grow and may be brought into bloom every year if the plants are treated correctly. To understand the process, it may help to understand the plant and its native environment.
Amaryllis are bulbs of the genus Hippeastrum that are native to the tropical and subtropical areas of the Americas. Some species grow in rock crevices in savannas that have distinct dry and wet seasons; others grow in high plateau regions that have cool weather for most of the year.
 One species from Brazil is epiphytic and grows in trees in forests with no soil around the roots. Many species are hybridized to produce today's hybrids, and most of these species experience
warm, humid conditions with abundant rainfall for most of the year and a short, cooler dry season. To make your amaryllis bloom again, you simply have to mimic the conditions that nature provides. One species from Brazil is epiphytic and grows in trees in forests with no soil around the roots. Many species are hybridized to produce today's hybrids, and most of these species experience
warm, humid conditions with abundant rainfall for most of the year and a short, cooler dry season. To make your amaryllis bloom again, you simply have to mimic the conditions that nature provides.
Here is an easy step-by-step plan to get your amaryllis to bloom again:
1. Keep it cool through the holidays.
Enjoy your amaryllis for the maximum time possible by placing it in a location with diffuse light and cool indoor temperatures in the 60̊F range. Keep it barely moist. When you water, be careful not to get the
portion of the bulb that sticks above the soil wet. If you have a large bulb, you may get two or three flowering stalks that bloom over a period of several weeks.
2. Cut the flower stalks.
When the last flower has faded on each of the flower stalks, cut the flower stalk near the top of the bulb. Don't injure the leaves or an emerging flower stalk. Don't be alarmed if sap runs out of the hollow flower stalk when you cut it - this is normal.
3. Provide light, water, and fertilizer.
It's late winter, and your amaryllis is in its growth phase. Your main objective is to encourage leaf production that will help the bulb bulk up for next year's flowers. It's hard to give your amaryllis too much sunlight at this time of the year. Move it to the sunniest location you can manage. A
sunroom or greenhouse is best, but a south-facing window will work until spring comes. Fertilize it month; never allow soil to dry out completely.
4. Move it outdoors in spring.
As soon as the weather settles and all threat of frost is gone, move your amaryllis outdoors. Don't be alarmed if many of the leaves wither and die in the adjustment period. Wind and exposure to more sunlight may cause some of the older leaves to die; new ones will grow. Choose a sunny area where
you can water the plants daily. A deck or patio works fine, and the glossy strap-shaped leaves complement many other plants. Fertilize the plants every two weeks with a liquid fertilizer or apply a slow release fertilizer.
5. Decide when you'd like your amaryllis to bloom.
If you want flowers for the holidays, you need to begin its dormant period by mid- August. Withhold water, and move the pots to a location where they can be kept around 55̊F. Most people don't have a space that
they can keep this cool at the height of summer, so the seasons may determine bloom time for you. You can leave your amaryllis outdoors well into autumn. If you do, stop fertilizing it in late September and bring it indoors before the end of October (earlier if a heavy frost is forecast). Bring it indoors in the pot or
remove bulb from the pot and wash the soil off the roots at this time.
6. Keep it in cool storage until the bulbs signal they are ready to go.
Amaryllis usually lose all or most of their leaves during their dormant period, although it is not necessary for all the leaves to wither for the bulb to reach complete dormancy. Keep the bulb on the dry side. Check the bulb every week; after eight to ten weeks of cool storage, you should notice the
tip of the new flower stalk emerging from the bulb. If you shift the bulb to a warm spot (70-80̊F) for three weeks, you will encourage leaves to emerge at the same time the flower stalk is developing, but a warm treatment is not needed
for floral development.
You can repot the bulb in fresh soil at this point. Be careful not to bury the bulb too deeply. At least one third of the bulb should be visible above the soil surface. Don't plant the bulb in a pot that is any more than two times the diameter of the bulb. When you repot it, you may notice smaller
side bulbs that can be broken away from the main bulb. These can also be potted and grown in a sunny spot. They will not bloom this year, but may bloom after two or three years of growth.
7. Place in a warm spot and water tentatively.
Water your amaryllis thoroughly right after you repot it, and allow the soil surface to dry a bit before watering it again. Place it in a warm spot to stimulate root growth. A sunny spot is best. If you try to re-bloom your amaryllis in dim light conditions, the flower stalk will grow long and your
amaryllis will be more prone to breakage or tipping. Wait until the first flower has opened to move the plant to a location with subdued light and cool temperatures to preserve the flower as long as possible.
8. Repeat.
You can keep your amaryllis indefinitely, and if you provide the right conditions for growth and dormancy, your bulb will get larger and multiply over the years. Large bulbs produce as many as three flower stalks; some bulbs may bloom during the summer as well as during the winter, depending on
temperature and other growing conditions.
Read other winter related
to Christmas Plants
Read other articles by Kay Hinkle |